Managing Roles
You can manage how roles work. This section covers basic roles, changing definitions, and creating new ones.
Roles are managed by the User Admin->Roles Page.
This page consists of a table containing the roles that have been configured. The Roles page comes preconfigured with three roles: admin, analyst and client. The admin role has access to all the available actions, including configuration. The analyst role is only able to perform actions related to data and analysis. Roles can be added to a user on the Users page to determine what access and permissions they have throughout the Fluency system.

To the right of a role there are two buttons. The left button allows you to edit a role to change its description or associated API and data policies. The right button deletes the role. The "+" button opens a window that allows you to create a new role. This allows for customizable roles to be created with predefined API and data policies associated.
Please contact Fluency support for detailed instructions on creating additional custom roles.
If you do not wish to create a custom role, or wish to add more privileges to a pre-existing role, you are also able to manually select any API and data policies you want associated with a user on the Users page. This will allow the user to perform actions that are usually outside the scope of their current role.
Adding a Role
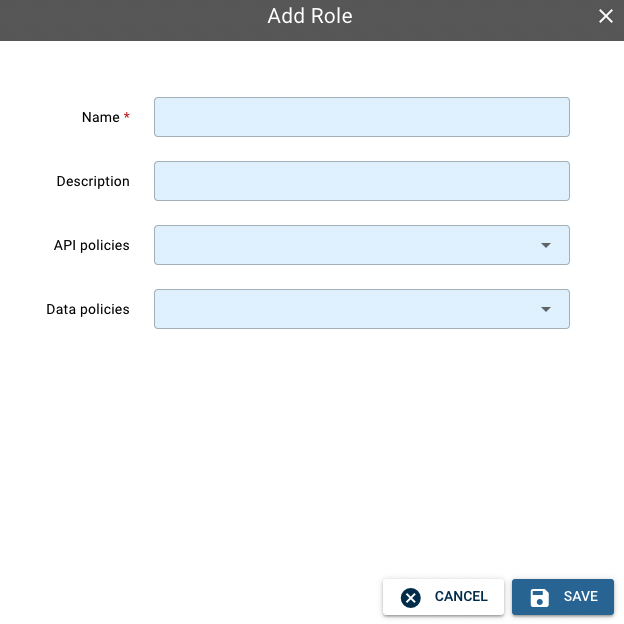
There are four fields available when adding a role. The first two are the name of the role and its description. The name will appear on the Users page when adding or editing a user, allowing you to select this role from the drop-down menu and assign that user the policies associated with the role.

Add Role Pop-up
The last two fields allow you to add preconfigured API and data policies. The selected policies will give those permissions to the user this role is attached to. In order to save a new role, there must be at least one API policy or data policy attached.
Updated 9 months ago
