Adding a User
Steps for creating a new user.
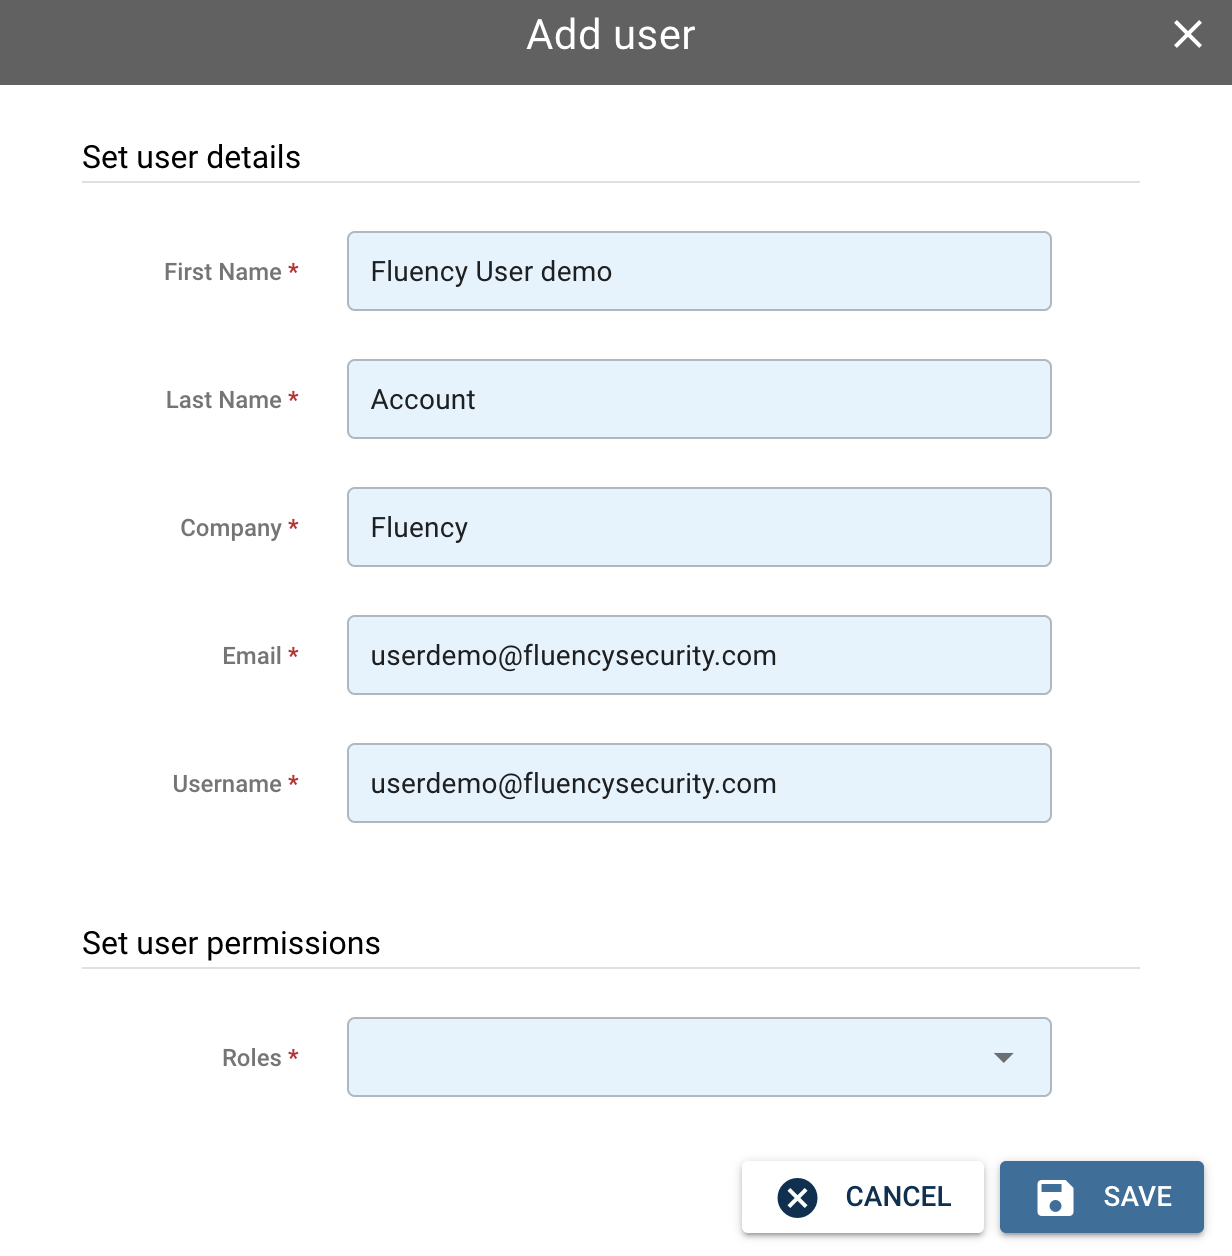
To add a user, select the Add ("+") button to open the "Add user" window.
The following fields are required when creating a user:
- First name, Last name
- Username
- Company
- Role in the system
Step One: Basic Information
When adding a user, a popup will appear. To begin, fill out the fields for the First name and Last name of the user. Next, add the user's Username and associated Email. Generally, the Username should be the user's Email. Then fill out the user's company Name.
The username is case sensitive.
Step Two: User Permissions
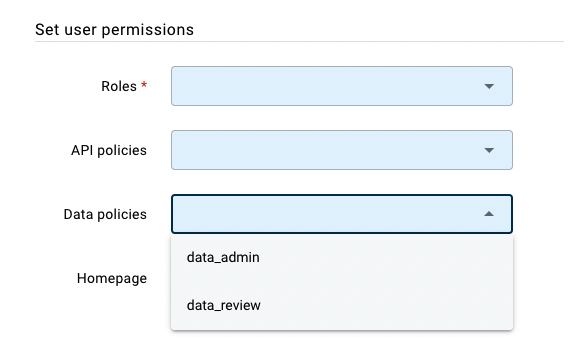
The next step is to set user permissions, including roles, API policies, data policies and homepage.
There are four options for "roles": administrator, analyst, client and name. An administrator will have access to all the pages within the Fluency system and be able to perform any configuration actions. An analyst, by default, will only be able to view data and analysis related pages.
There are advanced features for access control. The options for "API policies" will override the base permissions of the role. How does this work? The Fluency interface calls the system using API calls. The system will first determine what APIs are available to the user based on their role. However, there are times where the user should only be able to see the data and not change it. The options in the drop-down menu of "API policies" are pre-defined in User Admin->API Policies (see https://dash.readme.com/project/fluency/v1.0/docs/api-policies for details). The first part ("collector", "data", "entity". etc) refers to the resource you have access to, while the second part ("admin", "review". etc) indicates the actions you are allowed to do.
Data Policies determines if an admin has the right to change data, or only see it, regardless of API. Client user who is an administrator might only be able to see, but not change the admin data. Selecting "data_review" prevents a role from changing an administrator field that they have permission to only see.
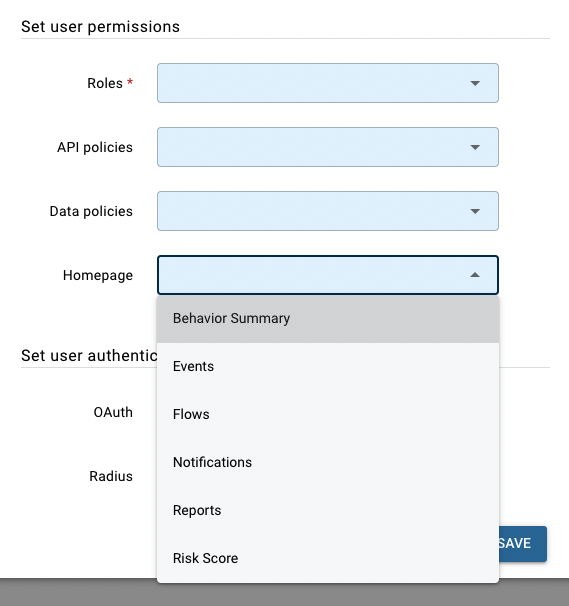
Step Three (optional): Home Page
By default, when a user logs in they will be shown the Behavior Summary (Overview-> Overview Summary) page. However, another option can be selected so that upon login the user is able to view a page that is most useful to them and their usage of the interface.
Step Four: Authentication Technique
The next step is to set user authentication. Select an Alternative Authentication method by clicking the "OAuth2" checkbox, if desired. If nothing is selected, the default is User/Password authentication.
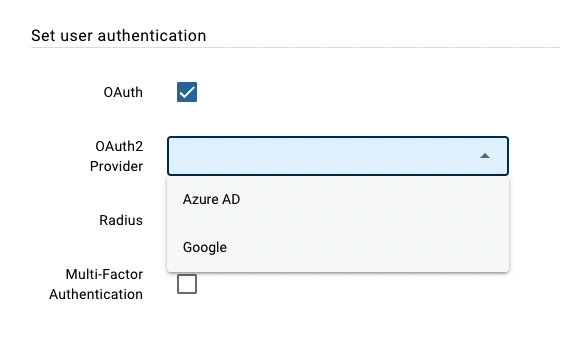
Fluency supports two OAuth2 providers: Azure AD and Google. If one of these options is selected, the user should select one of the Alternative methods from the login page to enter Fluency. This will redirect them to the provider's login page, allowing them to login through their provider's portal. When using User/Password authentication, Fluency can also integrate with RADIUS servers and supports Multi-Factor authentication.
Step Five: Save
Click the "Save" button to complete the user-adding process.
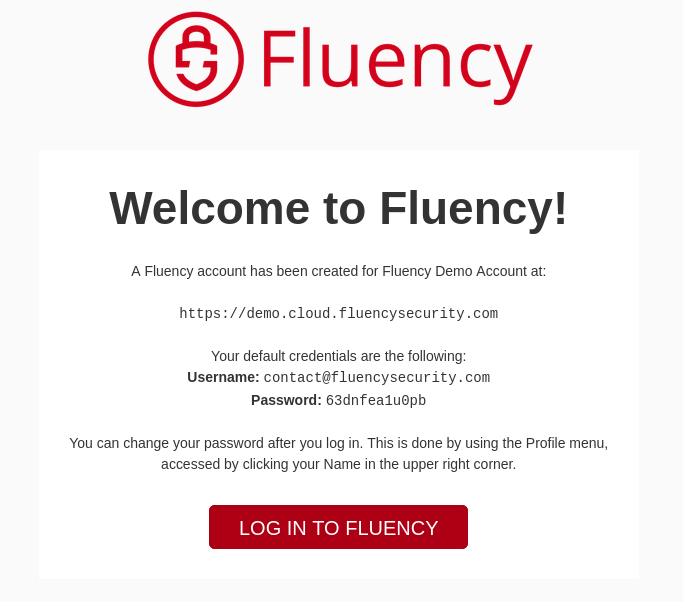
A "Welcome Email" is then generated.
An automated welcome email will be sent out to the "Email" specified above from Fluency Admin to confirm the User addition. For accounts with the User/Password authentication method, this email will also contain the login Username, and a randomly generated Password.
Updated 9 months ago
