Adding Data Sources
The first step in collecting data is getting access to the data. This requires 'connecting' the data source to the pipeline.
The first step is to get data into the system, and requires us to add data sources.
Where is the Add button?
There are three (3) column on the Platform Configuration page, where data collection is configured. The first column is the definition of the data sources. On the bottom of that column is the "Add Data Source" button.

Add Data Source button
Clicking that begins the process.
Configuration
Properties and status of a pipe will always appear in the left most pannel. Once you click, "Add Data Source" an empty properties window will appear here.
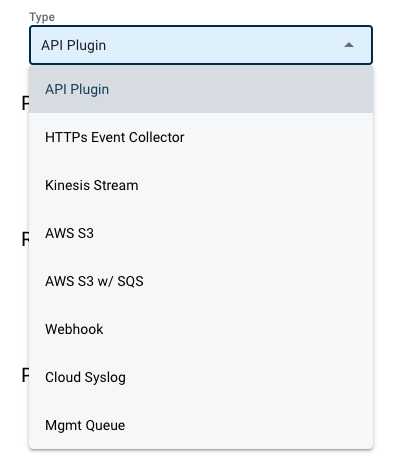
The first step is to choose the way you want to import that data source.

Data Source Types
Once a type is chosen, then the properties needed for that connector will appear.
Naming the Pipe
Regardless of the type of data source you are configuring, every pipe has a name. This is similar to a file name in an operating system. This is the name that will appear in the Configuration panel. It will also be used when reviewing the Metrics -> System Performance.
When naming the pipe, give it a name that let's users know what type of data is coming from this source, like "Fortinet Firewalls."
Demo
Updated 9 months ago
Once the data is entering the pipes, we need to pass the raw data to a pipe for parsing.
